1. How to register AVCLabs Video Blur AI
AVCLabs Video Blur AI is the pioneering AI-powered and automatic video blur software. It offers an exceptional solution for television stations and post-production companies, reducing complexity in the video blurring process by up to 90%, saving time, and boosting efficiency. Moreover, professional video editors can streamline their blurring process, enabling them to devote more attention to their creative endeavors.
Step 1: Launch AVCLabs Video Blur AI
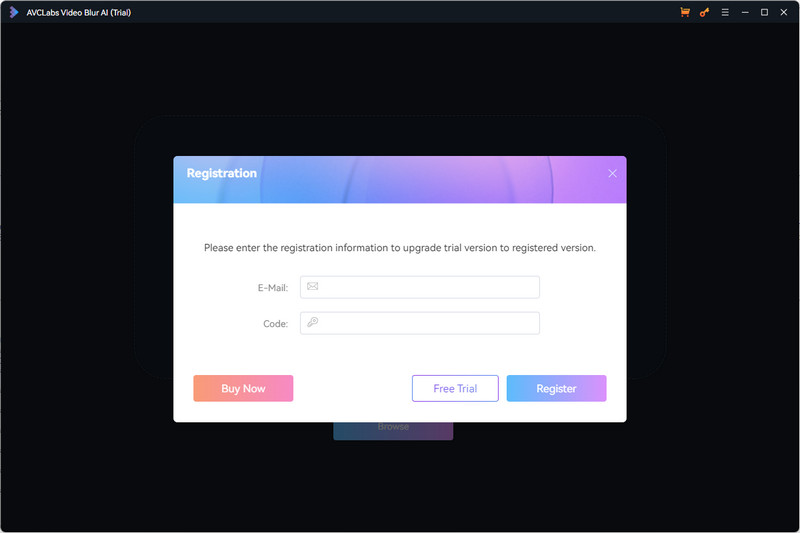
Launch AVCLabs Video Blur AI, then click the Key icon or the Menu icon (located in the upper right corner) and select "Register".
Step 2: Register Video Blur AI
Copy & paste your registration e-mail address and the license you received to the registration popup dialog.
Then click the Register button to complete the registration.
Note: Registration details are case-sensitive. Avoid adding spaces at the beginning or end of the word.
2. How to Blur Video with AVCLabs Video Blur AI
Step 1: Import Source Video
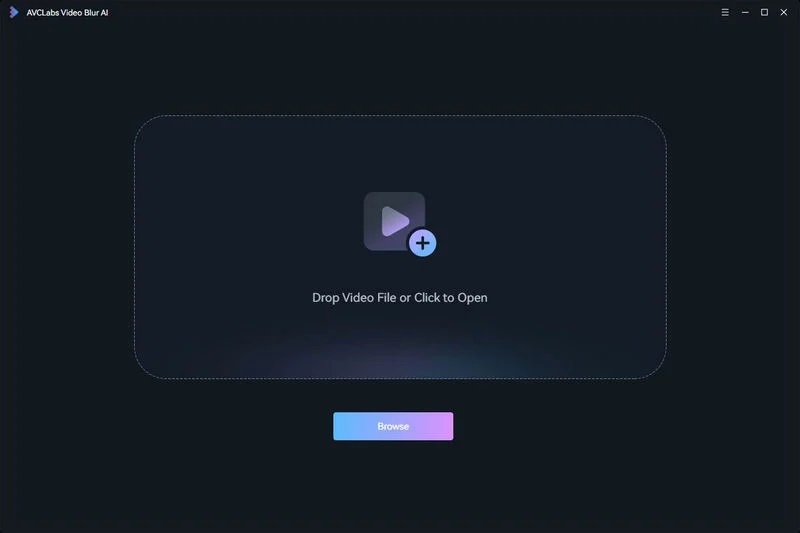
Click the Browse button to import the video file or drag and drop the source file to the program.
Step 2: Add Blur Tasks
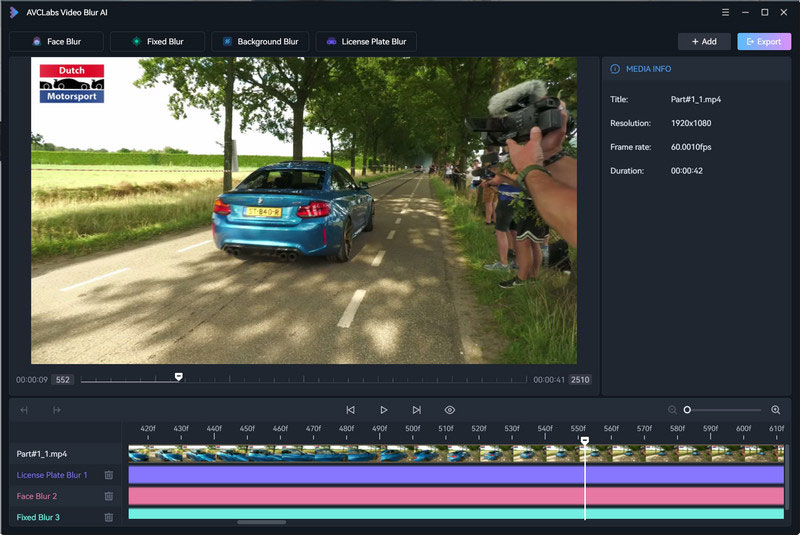
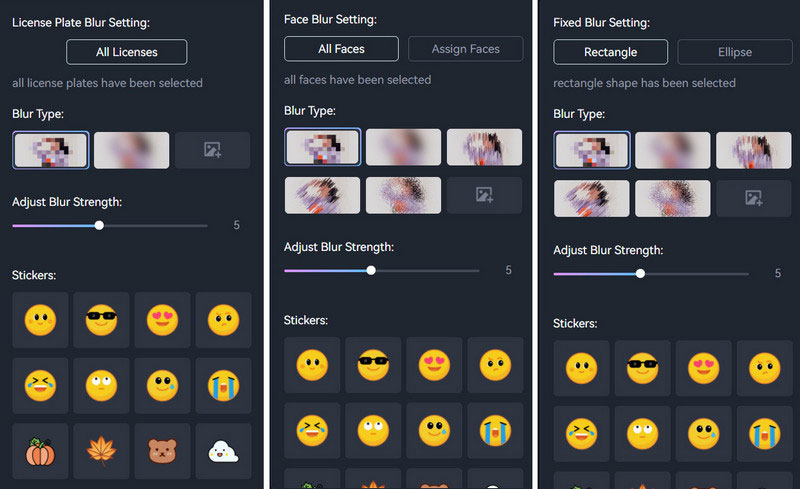
On the top of AVCLabs Video Blur AI, you can choose different blur models including Face Blur, Fixed Blur, Background Blur, and License Plate Blur. Just select one or more blur models and add them to blur tasks.
Face Blur: Choose to blur all faces or assign faces. If you select "Assign Faces," scan the faces first, check the ones to blur, and click "OK."
Fixed Blur: Use Rectangle or Ellipse to freely select areas for blurring any objects.
Background Blur: Choose to blur the background or foreground.
License Plate Blur: Automatically detect, track, and blur all license plates in a video.
Step 3: Edit Blur Tasks
Edit the blur task by right-click the timeline panel. You can delete the current blurring task, set specific start and end frames for the video segment you wish to blur.
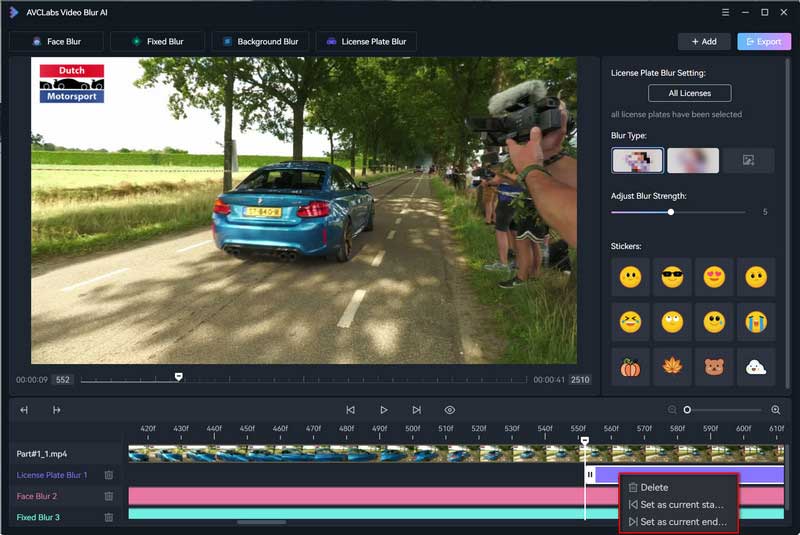
Step 4: Select Blur Type and Adjust Blur Intensity
There are 5 different blur types available: Mosaic, Standard Blur, Longitudinal Blur, Blique Blur, and Particle Blur. You also have the option to upload a custom image from your computer desktop. Then adjust the blur intensity by dragging the slider.
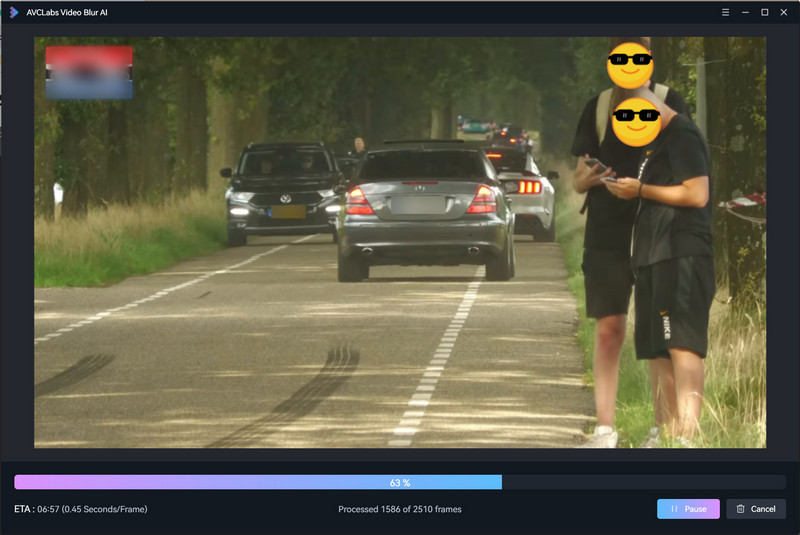
Step 5: Preview and Export
Before exporting, simply click the EYE icon to initiate the preview mode. If there is anything you are not satisfied with, you can always go back and make adjustments. When you are satisfied with the result, click the Export button to generate the final blurred video.
Tips:
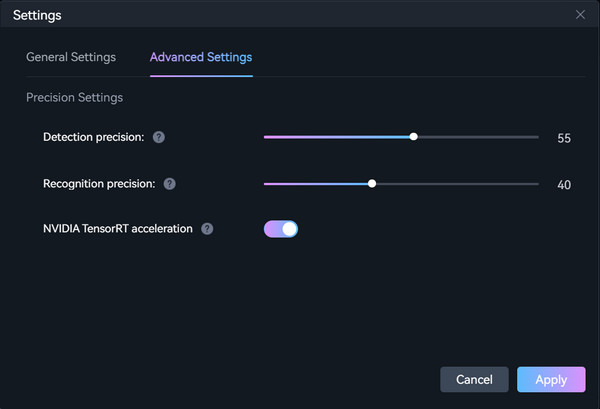
If there are some faces missed from scanning, you can go to the " " -> "Setting" -> "Advanced Settings" window, then decrease the detection precision (lower than 40) to detect more faces accurately.
Otherwise, if there are some non-face objects scanned, you can increase the detection precision (higher than 60).